Pages

Showing posts with label Geometric Designs for Cards. Show all posts

Friday, May 20, 2022

A Welcome Back with a Thank You Card!

 Hi everyone,  

I have been away awhile.  I am going to start posting again! Yea!


THANK YOU CARD


This card was made with the following supplies:
  • Papers
    • Pearlescent copper, yellow
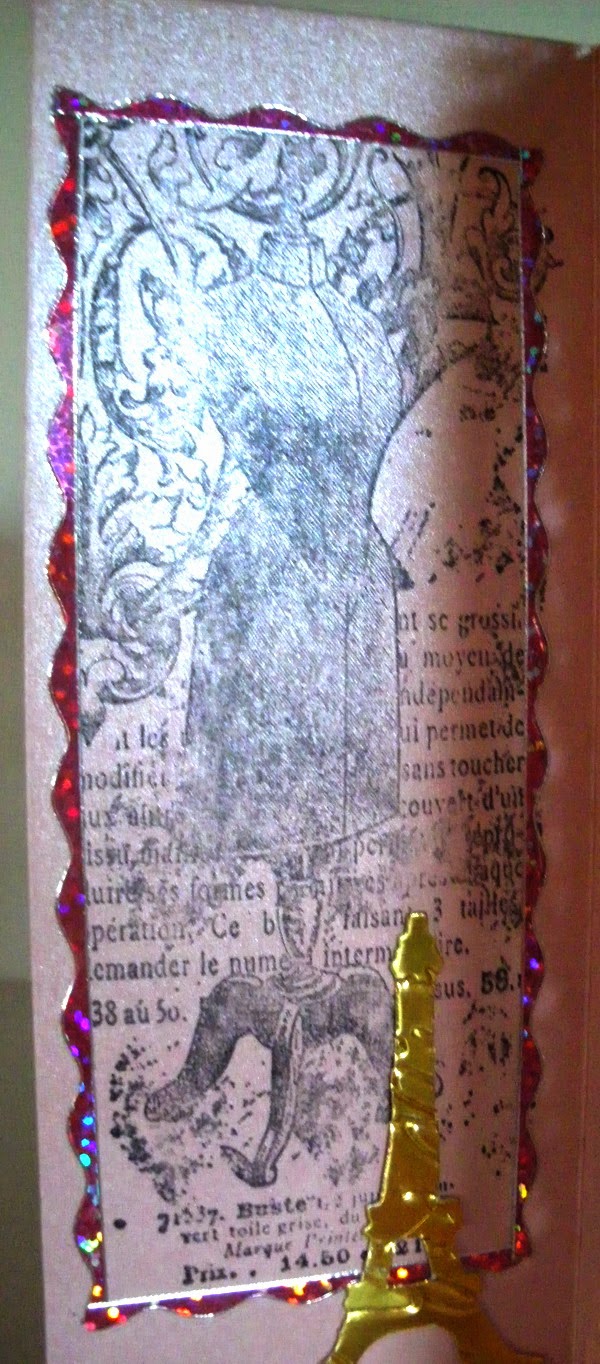
    • Gold Mirror card
    • Champagne Glitter card
    • Shades of Red (3) cardstock (standard)
  • Glue, Sticky Roll or other adhesive similar to Xyron, and foam squares
  • Spellbinders ColorBlock Mini Die Set (Mini Crosses)
  • Spellbinders Stacked Decorative Edges (THANK YOU sentiment)
  • Paper Trimmer, scissors, die cutting machine, embossing folder


These are such fun dies. There are two dies. One is a die to cut the mat (onto which you adhere the design), and the "design" die. This second die cuts all the nested pieces.

1. I cut each paper with the design die four times to get my pieces. 

2. I cut the mat die out of red. (I didn't use white as I thought the background might show.)

3. I chose different colors for each piece I was going to create.  It helps to have them chosen and laid out in order before beginning to adhere the pieces to the base.  I used glue but I will probably use adhesive next time to make it a cleaner process.

4. I assembled my card:
  • I cut the yellow cardstock to 5 1/2 x 5 1/2 inches.
  • I cut the copper cardstock to 1 1/2 x 5 1/4 inches. I embossed these with an embossing folder.
  • I cut one additional piece of yellow cardstock to 4 1/4 x 4 1/4 inches, embossed it and set it aside.
I adhered the copper card strips to form a square. Then I cut from the outer corner to the inner corner to make my corners mitered. I adhered these to my card, leaving a 1/8 inch border around my card base.

I adhered the smaller yellow card to the center of my card and on top of the copper card.

I positioned nine of my completed pieces in the center of my card. I carefully removed the first piece and added glue, then re-adhered it to my card.  I did the same with all the pieces.

I cut my sentiment from copper card and cut a background layer from gold mirror card.  I added these to the center of my card with foam squares. I added a yellow acrylic gem to either end.


 I hope that you enjoyed this card!

Thanks for stopping by, Lis


Monday, October 12, 2015

Four Men, a Birthday Card


Today's card can be used for just about any celebration.  I made it to be used for a male birthday though.

The card is an off size being 6  4 1/4.

Items used:
  • Gold Border Dazzles by Hot Off the Press
  • Patterned paper by Bo Bunny
  • Teal blue card stock for base by Cor'Dinations
  • Chipboard by Graphic 45
  • Metal Bird charm by Idea Ology
  • Crinkle ribbon in yellow and blue by Really Reasonable Ribbon (May Arts)
  • Gold shimmer paper


This is a good picture of all the gold thin line border dazzles that I used.  I really like how the word paper turned out.  I wasn't sure if the layering would look good.  I think the gold lines help.  The metal bird helps to give a Victorian feel to the card and coordinates well with the chipboard.


Sorry for such a fuzzy picture. I'm going to blame it on my cat this time....LOL!  This pic is supposed to show the layering that I did.  Also you can see how I used the gold border dazzles.  I didn't place them on top of the edge of my layers but rather next to them.

Two color bow...

Thanks for stopping by!
Lis

Friday, October 2, 2015

Wonderful, a card


Hi everyone,  today's card is a collage card but with a geometric design to it.

Items used:
  • jewel brads
  • paper leaves (Petaloo)
  • Green 1mm burlap/jute ribbon (see Really Reasonable Ribbon.com)
  • Patterned paper and glitter paper - DCWV Coral Collection
  • Stickers are Dazzles from Hot Off the Press
  • Word Stickers -Studio 420?
  • Gold Paint Pen
  • Martha Stewart Border Punch
I really like how this card turned out. I wanted to use some of my stash - coral - not a color that's easy to match or use.  I pulled together some stuff and decided to mat everything.  I'm not sure that I should have used the jute.  I should have probably used a thin ribbon. Oh well...LOL.


Thanks for stopping by!
Lis


Wednesday, July 1, 2015

Time to Fly ....a Card

Hi everyone,

I love this card!

Techniques used:
  1. Shaker Card
  2. Stenciling with glitter paste
The shaker part of this card was easy to do.  I thought I was going to have trouble cutting the acetate to size and then adhering the foam tape without it showing.

Cutting the acetate:
I cut the clock using a Tim Holtz die.  I used the center die cut from the clock die as my template for the acetate.  I placed the circle on the acetate with temporary tape.  I cut a 1/8 inch border around the circle (cutting it larger than my template).  The acetate was a great fit and slightly large so tat I could glue the acetate to the clock with Gloss Accents.  I cut thin strips of mounting tape. Each strip was the circumference of the inner circle.  The strips were thin and I was ale to bend them around the circle without having to cut infinite pieces.  I made two layers.

So, I have the clock upside down on my craft mat.  I added the small hour hands to the inside and also poured in a little Diamond Dust.  I picked up my card and laid it down on top of the clock to seal it. (If you try this remember to be sure that your card is going to open the right way.  Keep track of your top and bottom!)


I added the large hand to the top of the acetate and added a blue jewel.


The stenciling for the background of my card was interesting. I haven't done a lot of stenciling.  I love the effect I get with the modeling pastes.

I wish that you could see this card in person.  I used a Cosmic Shimmer Texture Paste by Crafters Companion.  It is a glitter paste (not glue).  It is SO sparkly!  The one I used on this card is called Icicle Blue and is a blue interference color - which is why I chose black - because interference colors show very well on black.

I added the kite as an after thought.

Here's a good picture of the shaker box.


Thanks for stopping by - have a great week, Lis

Sunday, November 23, 2014

Happy Happy Happy


 Hi everyone! My card today is a "happy" one!

I started out with an ivory card base, added dark green shimmer paper and copper foil die cut of the Ombre Chevron Card Panel. I cut out another chevron panel using green foil card stock.  I used some of the green foil cut outs on my card by fitting the cut outs into the copper negative space.

I cut out the Happy Happy Happy using the die of the same name out of some green patterned Basic Grey paper.  I  layered another "happy" out of gold gloss in the center and added it to my card.

As a final touch, I added a group of paper flowers (tulips, the other flower I don't know the name of) and tied it with light green and yellow silk ribbons.


Saturday, November 15, 2014

Muse with Butterflies Card

Hi everyone!  I'm going to jump right into today's card!

When I'm looking at other websites and blogs, and I see a card I like, or want to know what materials the artist used, I go a little nuts when I can't find out. This is because I want to use some of those papers or embellishments.  So, I am trying to provide a basic materials list for you, dear readers, in case you are curious about what I used.

Materials:
  • writing embossing foiled (Sizzix) on gold foil card
  • Chain is from a steel rule die from Sizzix called Chained (I've been using this a lot. Check it out.)
  • Butterflies used Frantic Stamper Petite Butterflies  (I am providing the link because this die is neat!)
  • Background paper by Sizzix called Little Sizzles.
  • Gold lines from Dazzles by Hot off the Press


It's a pretty simple card to make but very dramatic!  I love the little butterflies cut from blue foil which was embossed first..  They reflect back to the chains cut from dark blue shimmer paper.

The muse letters were some random ones that I had but I did color over them with a light wash of pink shimmer.

In the next picture you can really see the pink shade come out on the letters.  Also I only attached the butterflies at the center so I could bend up the wings.  These little butterflies are so delicate.


Thanks for stopping by!
Lis

Sunday, August 3, 2014

Four Panel Card: French Boudoir


Today is my second four panel card.  I think I am getting addicted to these, they are so easy to make!   A you know I love all things French, so this card is full of "Frenchness"! LOL

The dies for the Eiffel Tower and the shield come from Sizzix/Tim Holtz Movers and Shapers dies. I used an embossing folder from Cuttlebug for the embossing on the shield.

I decided to make this card one color on the outside (silver) and pink shimmer in the inside. (I once saw a movie in high school that was from France and I remember all the decoration wallpaper in the apartment.)

Anyway, this is the outside.  I used a Frantic Stamper precision Die (its a half panel die - Shell Half Panel Die).  I cut out the half panels in plain white card stock and sandwiched them between the silver and pink shimmer card stock.  I used Jewel Border Dazzles for both sides of my card.  Silver on the outside...

 
...gold for the inside.  You will note that the first panel is rubber stamped rather than being a die cut panel like the rest.  I got the stamp from Frantic Stamper.  It is a stamp from France (how appropriate!) La Blanche Rubber Stamps.


This is the inside of my four panel card.
 
 
Now for something really CUTE!

Do you see the little charms that I have hanging from the gold punched design?  They are Dazzle CHARMS!  These things are just the cats meow!  They are Dazzle stickers and come on a sheet. You get a pair of each design.  You lace one of the stickers on one side of a piece of plastic and the other on the other side and then you can cut them out.  OR, you can just attach the stickers to each other. Each charm already has a little hole.  They come in gold and silver and I LOVE THEM! (Remember that you can color the silver ones any color you want with alcohol ink pens.)

Pearl Silver Dazzle Charms - Hot Off the Press

Pearl Gold Dazzle Charms - Hot off the Press


I hope you enjoyed my four panel French Boudoir card.  I am sure that I will make more four panel cards so stay tuned!

Lis

Saturday, August 2, 2014

Four Panel Screen Card Asian Theme


Hi and welcome!  I call today's card a four panel screen card.  it's got four panels and reminds me of one of those separator screens that one sometimes uses in a room (or even one of those Victorian ones that the woman stands behind and undresses in the movies).  Anyway, I found a great way to create these cards EASILY from my Stampin Up Demonstrator France Martin.  Thank you Frenchie!

This is the front of my card.  I started with an 8 1/2 x 11 piece of cardstock.  I made a score line horizontally at 2 3/4, 5 1/2 and 8 1/4.  These will be the fold lines.  Since the panels are rectangles, it's easy to measure and then cut the pieces to decorate. 

The bottom is done with a punch!
 
 
This is the inside of my card. I used a Frantic Stamper word die and dazzles to decorate.  The paper I used was Yuzen Washi paper.

I also punched a design at the top of my panel card (Martha Stewart border punch).  It would be easy to use a steel rule die such as one of the Tim Holtz On the Edge dies.  Since its a steel rule die, just fold the entire card up and cut all at once.

 
Have fun!  These cards are truly addicting to make!
 
Lis
 

Tuesday, July 1, 2014

Kanji


 I have always loved oriental themed cards.  Perhaps it's the mystery of the Orient that draws me in, or maybe the colors.  Either way, this is what inspired me to make today's card. 
I haven't made many Oriental-inspired cards in a while but when I got Frantic Stamper's Fish Scales card Panel die, that's what I thought of.  The die cut was so beautiful, I didn't really want to do too much.  My card started with a black card base with beige star dream card on top.  Underneath the die cut (which was cut out of blue foil card) is a piece of Yuzen Washi paper in red with gold flying cranes.  I die cut a Kanji character and mounted it on some of the same card I used for the main card.  I used some mizuhiki cord in gold and blue behind it.  I also cut out a leafy vine in gold glossy.
 
A simple card but very bold.  I hope you enjoyed it!
 
Thanks for stopping by!
Lis 


Sunday, June 15, 2014

Blue Flower on White

Hi all!  I SO love white on white (or ivory on ivory) cards.  For they are so elegant.  Can you guess what today's card is?  You are RIGHT!  It's a white on white (almost) card!


For my card I used white card stock.  I used an embossing folder (Hot off the Press) for the front of my card base (no mat here).  Then I cut out the center pieces again using white card. 
 
The dies  used are called "anja's" designs. The company is Marianne Creatables Dies.  I have really fallen in love with these Anja designs.  They are so ornate and awfully pretty!
 
All I did was layer both pieces (these come as a pair) with mounting tape and add to my card.  The larger piece is also embossed. 
 
I added a strip of gold (Dazzles) to each side of my card and added the flower to the center. 
 
There aren't many layers to this card but the die cuts are so ornate that I don't think I need to add anything else. What do you think?
 
Lis
 

Saturday, June 14, 2014

Thank You Card using Trellis Frameworks Die from Tim Holtz & Sizzix


Hi everyone and welcome to my blog today!
 
I've been so excited about the new Tim Holtz die release with the frameworks designs.  As you can see, my card today uses the one called Trellis.  It's a very pretty design that reminds me of India and Persia.
 
I started out by die cutting the design three times: with grungeboard, purple cardstock and one of Tim Holtz' paper stash patterns.  I used a navy card base.
 
I decided to use the paper stash pattern for my base.  The patterns and colors really give a lot of movement to my card.  I took the grungeboard inner pieces and colored them using the Tarnished Brass Distress Stain.  Then I stamped a writing pattern on them with black Staz On.  It came out really light because the writing stamp I used had a thin font.  If I had to do it over again, I would use a slightly thicker font to make it show up better.
 
I randomly placed the grungeboard into the vacated spaces.  I placed the purple "innies" in the rest of the spaces.  (Of course I attached all of this down with glue.)  I added some blue bling randomly.
 
I took a crinkle ribbon and died it with Tea Dye Distress Stain. I also had some oval chipboard pieces.  I colored one of these the same color as my ribbon and added the Thank You in Gold Dazzles.
 
I really like the way that the grungeboard pieces add some height because of their thickness.  I like the randomness of the pieces also.  It looks fairly balanced.  The blue bling adds a pretty brightness to my card which otherwise would have been really dark.
 
Did you notice that the frameworks piece covers my A2 card?  Because this is geometric, I can put two together and make a larger single one! (I wonder how it would look down one side of a 12 x 12 scrapbook page...hmm.)
 
Lis


Sunday, May 11, 2014

Thank You Card


I wasn't sure what to call this design. It reminds me of old Italian or Byzantine.  This is, of course, one of Tim Holtz' new Frameworks dies - called Trellis.  I really love dies that have designs tat I can play around with and change to my liking.  I can see the Frameworks dies being one of these.
 
I cut the framework out with some of the Tim Holtz paper stash I have.  I also cut it out of some dark purple and also out of grungeboard.  I used the little pieces from the purple ad the grungeboard to fill n the design in my card.
 
To prep the grungeboard, I simply added Tarnished Bronze Distress Stain to it. After it dried, I stamped some writing in StazOn Black.  If I had to do it again I would pick a stamp that had thicker lines as it's difficult to see my stamped image. One nice thing about the grungeboard is that its thicker than the surrounding paper, so it really adds a nice bit of dimension to my card.


I used glue stick to adhere everything onto a navy blue card base.  I added the blue bling last.
 
I colored my label (which was plain chipboard) and my ribbon (which was white) with Vintage Photo Distress Stain,  I also added some touches of the Tarnished Bronze to my ribbon.  It created a nice shimmer to parts of my ribbon.
 
I added a gold sentiment (Dazzles) and done.  I am thinking of changing this to a Happy Fathers Day card.  It has a nice masculine feel.


Thanks for stopping by!
 
Lis

Tuesday, February 25, 2014

Cat Willow Card


Cat Willow Card
by Lis Whiting

I used two stamped and colored cat willows for my card. Both were matted to dark brown card stock. To accommodate both stamped images I used a 5 1/2 x 5 1/2 inch sized card. I used some very lovely Authentique papers (collections listed below).  I punched a border for the bottom of my card and decorated it with red crystals. 

I punched a leafy vine out of green foiled cardstock and used that as decoration at the top of my card.  I added a butterfly as a final touch.  This tamp would look good cropped to a square and tiled on a card also!


Tuesday, February 11, 2014

Elegant Blue Valentine


Elegant Blue Valentine (February Challenge)
by Lis Whiting

I've been using a lot of suede paper in my work lately.  Today's challenge card uses a royal blue suede paper and gold accents for a dramatic and elegant card.
I started with my base card which was white card stock. I thought this would really show off the blue suede paper.  Since I am working with an A2 card, I cut my suede paper to 4 inches x 4 3/4 inches. Then I used the Dazzling Diamond Border die from Frantic Stamper to die cut the border design at the bottom.  Then I used another die (also Frantic Stamper) to cut the window.  I really love this die!  I don't have to worry about making sure everything is straight because this one die cuts out all four windows with no problem! 
First, I turned over my blue suede paper and used Red Line Tape in 1/8 inch thickness (it fits perfectly between the window panes) to adhere a 3 inch x 3 inch piece of transparency to the back of the suede.
I used Bo Bunny and Carta Bella papers and punched 1 inch pieces (four) that I then glued to the back of the transparency - the pieces show through the front window. (I used the red line tape again). 
I attached the blue suede paper to my card and embellished with gold Dazzles stickers and a fleur de lis punch in gold foil.


Products used: