Pages

Saturday, May 14, 2011

Acetate Overlay Cards

Hello Everyone! Happy Saturday to you all!  Today was rather overcast and threatened rain but that didn't stop me from visiting JoAnn's!  I went by the sticker aisle and saw the K & Company stickers so I stopped to look at them. (Big trouble, right?)  Well, you know I just love K & Company. Say what you will about Jolie's but K&C make such beautiful stickers, all with glitter and foil and layers and such.  They are always just stunning.

Anyway, I saw these acetate overlays.  These are usually used to put on top of photos. They have a border and thats about it.  These however had butterflies and birds and flowers, all with glitter.  Truly beautiful. So, I had to get a set.  In my mind I saw them on cards and thought they would look really nice.

Word of caution: These acetate overlays have a film that you need to peel off before using them.  This protects the acetate from scratches.  Unfortunately I didn't think about this when I attached my first overlay to my first card.  Then while I was putting glue dots around, one of them started to pull the back off, and I thought....oh wow....I forgot to remove the film. <sigh>  Live and learn!

My first card:

I was troubled by the photo at first because I try to make things match up side to side and top to bottom.  In this case I couldn't do that if I wanted to see the background green lattice.  The picture is printed from a CD that I bought with vintage photos on it.  There are many of this type. They come with a book and all photos are numbered.  There are a couple of different publishers that have these and you can even get different topics like scientific instruments (for all you steampunk lovers out there) or famous paintings.


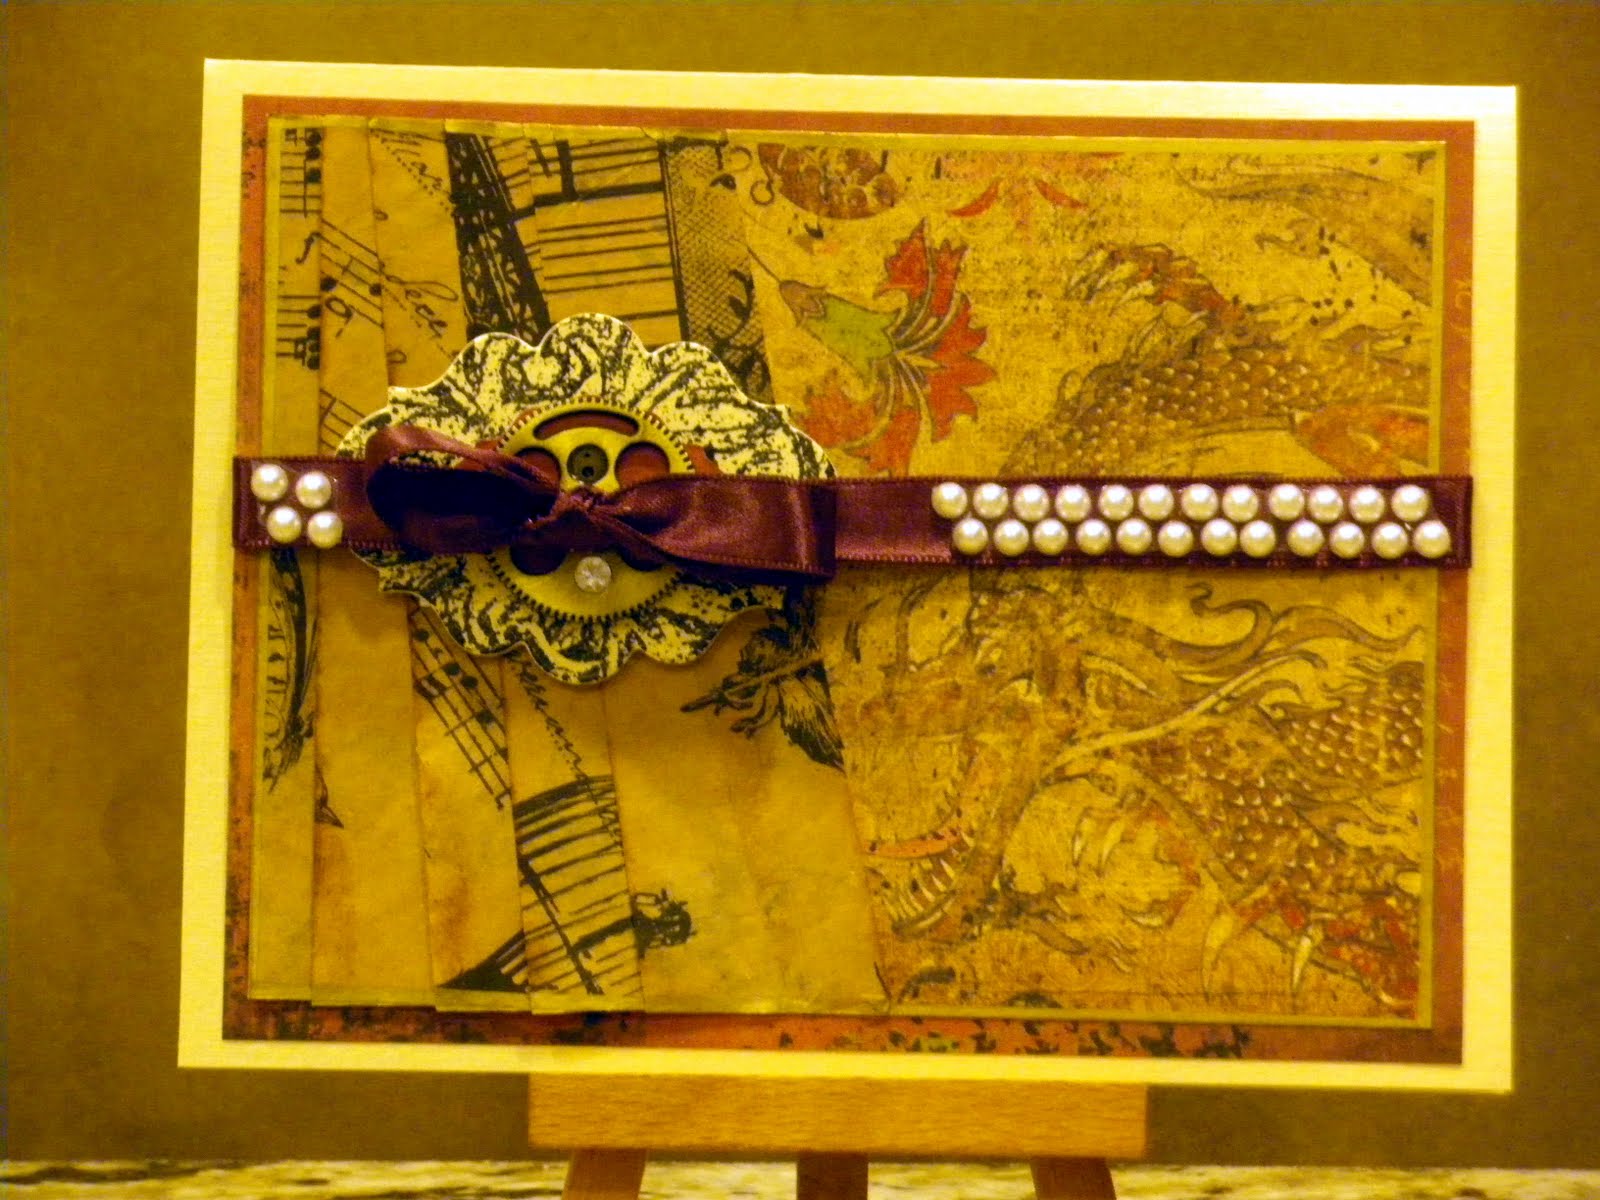
I placed a pearl in the center of the bow. I thought this was a nice accent.  The ribbon is wired but I also adhered the ribbon ends with glue dots to preserve the wave.

 Here is a close up of the bow.  To add the bow to my card, I did the following:
  1. Added glue dots to the back of my bow. 
  2. Attached the bow to my card.
  3. Punched two holes on each side (each set of two holes was about 1/4" apart.
  4. Threaded each ribbon tail down one hole and back up through the other hole.
  5. Molded the ribbon ends and attached with glue dots.
I threaded my ribbon ends to make them sturdier and keep the bow on better.  I am sure the glue dots would have been ok but this was better. Sometimes wire edged ribbon can pull and be unruly.  By doing this the ribbon ends stayed where I placed them.


My second card:

This card is similar. I used an off white ribbon and placed a gold crystal in the center.


I hope you enjoyed today's cards!

Lis

Friday, May 13, 2011

Simple Bling Cards

Hi everyone!  Happy Friday!

I am sure that you have seen the large crystal and pearl swirl stickers at your local craft store and online.  Aren't they beautiful? Don't you wish you could use them on a card? Aren't they just too big for a card?

NOT AT ALL!

Today I want to show you an easy way to use these beautiful and elegant bling swirls for cards in an easy easy way!


I love the crystal swirls.  They come in so many colors of crystals. And now with the crystal and pearl combinations, its just too great!

I had to choose a paper that would not swallow up my crystal stickers.  Some paper patterns are just a bit too strong for this.  I settled on tiled patterns which Graphic 45 does very well.  I chose their Springtime and Curtain Call Lines.

The first card has a complete and uncut crystal and swirl accent on it.  The sticker doesn't detract from the paper.  The paper doesn't keep you from enjoying the bling. Perfect!


It is elegant and it only took me 5 minutes to make. (I did edge the paper in gold. This added a nice faux layer.)


The next card took me ten minutes to make because the sticker bling I purchased was about 9 inches long.  I cut it up into pieces and placed it on my card.


I cut out the major portion of the sticker to preserve most of the curve.  I placed this on my card first.  Then I cut pieces out and laid them along side the center part.  The butterflies are part of the sticker.


I hope you enjoyed today's quick and elegant card technique!

Lis

Tuesday, May 10, 2011

One more Vintage Card with a Steampunk Element!

Hi again!  Lis here with another card using the 7 Gypsies line.  This time with a little steampunk added.

I really like the steampunk movement. I love watches and gears and victoriana.  It all reminds me of all the Jules Vern stories.  Actually I am a gear NUT!  I am working on some cards with all gears.  They are pretty (I think).  You'll see...


I must admit that this card is very subdued.  It has the collage tissue paper on it (which I really like. It reminds me of the kind of tissue that you find in the sewing patterns at the local store....which by the way I will be using for some future cards.)

I thought I liked the pearls but now I'm not so sure.  I may take them off. What do you think?


I stamped a pattern on the die cut under the bow but I think I probably should have used a lighter design that would show through better.  I like the bow and gear though.


 Do you see the gear?  Its got a little crystal in it. How cool is that? )You know me...anything with bling!)


I hope you enjoyed today's card.  See you next time!

Lis

Monday, May 9, 2011

Old Fashioned Card with Stick Pins


Hi everyone and happy Monday!  I hope your Monday has been good.  Mine is busy as always.  I decided never to plan anything on a Monday.  That way whatever happens, I am ready!

My card for today is old fashioned with muted browns and rusts.  I like the button ribbon I used too.  Its very cute and lends itself to the feel of the card.  I used some 7 Gypsies tissue paper (yes, this is a new product of theirs).  I cut it in a quarter circle, pleated (folded) it and added it to the left of my card. I let the bottom hang off - I thought it was kind of cool. 


 I used two stick pins on this card.  I love the Mays Arts stick pins (you can also make your own - just go to the craft store and get some of those long pins they use for earrings and glue on some beads - FYI these pins are not for fastening anything.  They are straight with a flat top.) 

Anyway, you can get these stick pins in pearls or faux crystal, they are very pretty.  I love the way the crystal (its plastic, not glass) kind of catches the light and reflects it on the card.


I printed out a vintage picture onto some sticky backed canvas and cut out the image.  I used that on the card.  It looks like she is gazing as something, don't you think?  This is a good close up of the stick pins also.

I hope you like this card and try one for yourself too!

Lis