I couldn't resist making this card. I got a free punch in the mail the other day of a house. So, I thought "well, ok. let's punch out some die cuts and see what happens". I knew I wanted a house border.


Close Up!
I really like this bird. It's part of a set of die cuts from France. I used distress ink on the edges and outlined the bird in gold and added a jeweled eye. The die cut behind the bird is from the same set. The words are from Tim Holtz word pad. (Sorry about the twine. The words are "Our Home")

I added tiny colorful gems to the edges. Here you can see the different papers I used to punch out my houses. I used a ribbon behind the houses to tie them together visually.
 Hope you enjoyed my Home Card!
Lis


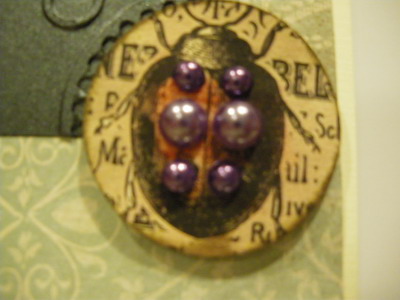
Close Up!
I really like this bird. It's part of a set of die cuts from France. I used distress ink on the edges and outlined the bird in gold and added a jeweled eye. The die cut behind the bird is from the same set. The words are from Tim Holtz word pad. (Sorry about the twine. The words are "Our Home")

I added tiny colorful gems to the edges. Here you can see the different papers I used to punch out my houses. I used a ribbon behind the houses to tie them together visually.

Lis