Pages

Saturday, June 7, 2014

Steampunk Butterfly Greetings


Hi everyone!  This was an interesting card to make.  I started off wanting a sweet Victorian card. I ended up adding a steampunk element to it.  Quite a mixture!

The unique material that I've just start using is the paper ribbon.  I've used it in pink on this card.  It starts out as paper twine (Maya Road).  I unroll it and the resulting paper ribbon is about 1 1/2 inches wide.  You get a lot on a roll too.

It does take a little patience to get it unrolled but well worth the effort. Its SO pretty.  I am working o another card and I want to ink it before I unroll it to see what tie die effects I can get. So stay tuned!

Do you like my butterfly?  I used a Frantic Stamper solid Butterfly die to cut the card base, the patterned paper mat and a gold glossy butterfly that you can just see on the inside of the card.

I stamped a gear image onto some transparency that I cut a bit larger than the butterfly window on the front of my card.  I used double sided tape to attach it to the front of my card base.  Then I added my mat (made from purple suede paper and patterned Graphic 45 paper on top).  My mat already had the butterfly window cut out.  I matched up the windows and glued it down.  The stamped transparency shows through.  I cut out a gold glossy butterfly to place on the inside of my card. When the card is closed, there is a gold background to the butterfly.

This is not a new technique but one that isn't used a whole lot.  Hope you enjoyed my card today!

Thanks foo stopping by!
Lis


Saturday, May 31, 2014

Father's Day Scrapbook Page


Today's project is a 12 x 12 inch scrapbook page for Father's Day. I used the papers and labels from STRONG which is from Authentique (a favorite line of mine). The colors for Strong are browns, terra cottas and denim blues. These colors will go with everything!

I started out by using two of the frames that are in this collection.  What you see on my page are actually two frames.  I thought they looked so good together that I didn't separate them. (I love all things newsprint.)

I added tabs to the word labels (which I cut from one of the papers) with my Tiny Attacher.  I figured staples are manly too, yes?

One thing I like is that if I don't like one side of a tag or label, I can turn it over and use the other side. One side has writing and the other side has a different pattern on it and is blank. That is so cool!

Isn't this cute?


I created my journaling "book" by using the tabs from the collection and adding heart shaped eyelets.


This is the journaling space opened. It gives a little 3-D piece to this page.


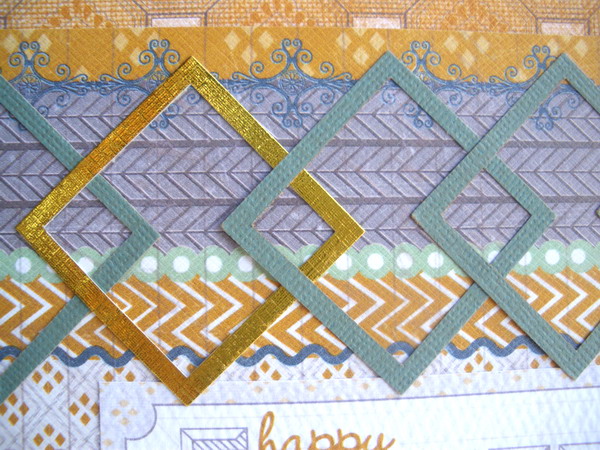
Last but not least I wanted to mention the border design I made. I used two different sized square punches. I punched the small punch first. Then I punched the larger square around it to get the square frames below. To make sure that I was positioning the punch correctly I turned it upside down. I laid each square frame down to see how many I would need. Once I got the position the way I wanted it, I glued each one down.


I hope that you enjoyed today's scrapbook page.  Stop by again soon!