
Hi and welcome to another card created using the Making Memories Journaling Spiral Bound pads. I love these die cut pads because I get some pretty patterned paper form not much money and a whole lot of creativity.
Today's card is using the white, beige and red paper below.
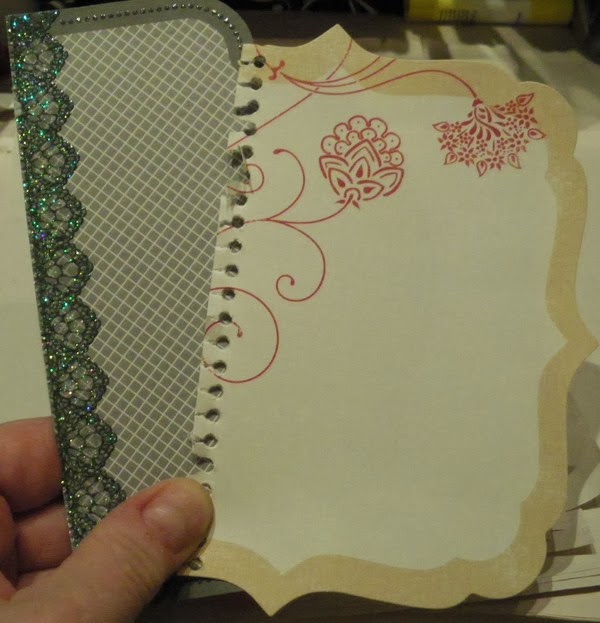
Since I tore it out of a spiral journal, I needed to trim the edge off.


I knew that my card would be shorter than the card base I was using (I wanted to start out with a little more than what I needed - just in case!) Below you can see that I used some double sided tape to adhere my journal note and my suede paper. NOTE that I only put enough tape on the back of the suede paper to adhere to the journal sheet (also pictured). That's because I plan to mat the journal sheet.

Once the suede paper was adhered to the front of my card base, I used Red Liner tape to adhere my journal sheet to the suede paper.

I started to cut my mat by cutting completely through the top left and right corners.

Then I cut a 1/8 border around the journal sheet.

Now its time to cover the inside of my card. I chose some pretty paper from Pebbles - "From Me to You. -lovely for Valentine's.

After I covered my card I decided to trim the back of the card also 0 on the sides only to match the front.

Here you can see it better.

Then I trimmed the bottom off. My card dimensions ended up 6 inches high x 4 1/4 inches across.

I have to tell you that when I first started to try out the "hand cutting a mat" I was skeptical. I have never been a good free hand artist. I NEED a ruler! But with a small pair of sharp scissors and patience I've done fairly well. It does look great when its done! I encourage you to try it for yourselves.

Here is my finished card! The flower on the left is from Prima and yes it is a lovely white with FEATHERS!!

Here is a close up of the LOVE die cut. I added one gold heat which I think turned out really well.

Here is the border I made at the bottom of my card. I used DAZZLES stickers (Hot off the press and yes, Fran carries them). I think I must be addicted. I love love love these stickers, especially the borders and the jewel dazzles.

I hope that you enjoyed my card today and that you try some of these techniques to make a card.
Lis


