Pages

Sunday, August 31, 2014

Some Card Ideas

HI everyone!  I wanted to share these quick card ideas with you -


1.  Two embossing patterns


2.  Chevron pieces

3. Acrylic Jewel sheets

4. Using word stickers (I had them and don't usually use them much). These were from a winter/Christmas set.  I picked out the more general ones to use on this card.

thanks for stopping by!
Lis


Getting Ready for Halloween - The "TO DO" List - a Card


I just received some Frantic Stamper Precision dies and one was the Witches Legs (set of five dies) FRA-Die-09236.  These dies are so cute!  I especially love the hat!

I decided to make a Halloween card of course.  I asked myself what would a witch do to prepare for Halloween?" and that is how my card idea started.

Believe it or not I used some Kaisercraft paper from the Outdoor Trail Collection (coming soon).  They have some great oranges and blacks in it.  This orange stripe pattern has a great spiderwebby stripe between the ever so popular chevrons.

I cut the hat, candelabra and shoes out of suede paper, and the table out of brown card stock. 

For my list, I computer journaled and added Ranger distress inks and some water droplets.  I also used some Dazzles stickers that look like brads.


Here are some more close ups.


I hope you enjoyed today's card.  Look for more Halloween inspiration at the end of September!

Lis

Yellow Pattern Note Cards


Sometimes I just want a simple and decorative notecard to send out.  I made these two matching note cards with that in mind. 

I used the lines in my background paper as guides for laying down coordinating paper on top.


I added some gold Border Dazzles (Hot off the Press) and some yellow ribbon as final touches.
 

Thanks for stopping by!
Lis

Saturday, August 30, 2014

Crown Life


Have  you ever held onto a piece of something, knowing for sure you would eventually use it? And you called it your stash?  Me too!

I've had this acetate piece with LIFE and the crown and frame for a while.  I just couldn't bear to throw it away, it was so pretty.  Today I decided I better use it.

I started out with a plain card base.  I punched a design in the side and added some tiny round dazzle stickers to the pattern. I added gold border dazzles to the front of the  card also.

I added some pretty blue round dazzles to the crown. 


My card turned out a bit odd looking I think I have too much going on.  I did send it to my dad.  He gets a kick out of even my craziest cards.

Take care, Lis

Sunday, August 24, 2014

Feather Pink


I love feathers but haven't used them in cards.   Today is my first!  I love this all over light pink color.  The paper is Yuzen Washi paper and has a background of pin with white and silver cranes. I matted it to some silver paper and added some pink dazzles (too over the top?) and my pink flower with gold accents and two pink feathers.  I added the ribbon as an after thought because I thought the flower needed more grounding. 


Have a great day!
Lis

Saturday, August 23, 2014

Spring! a card


Hi everyone!  I have been enjoying the Spring weather out here in California.  It's been so nice and cool in the evenings.  It has inspired me to do a colorful Spring card!   pulled out all the stops for this cheery and colorful Spring card.  The card base is a lively dark pink with a mat of light pink edged in gold. I added a strip of matted purple (on dark pink!) and hung my banners from that. 
My "banners" were cut from the Frantic Stamper labels. I cut the sides off each and one end.  I also embossed them with different springtime designs like flowers and leaves.  I used some glimmer paper in lavender and lime and an orange patterned paper. (If you were reading this without having seen the picture, I wonder what you'd be thinking right now!  "She's lost it!"?)
I got my banners onto my card and felt it needed a little more. So, I added some flowers with white pearls in the centers.  I decided on bakers twine in purple and a strip of white doily Dazzles at the bottom of the card.  In all, the card really only took me about ten minutes!  I love these inspired moments!
Thanks for stopping by!  Lis


Monday, August 18, 2014

TODAY - a Camping Card

 
Hi everyone!  I wanted to make this card for all those who love to camp (including me).  I love the outdoors.  This card is a reminder to live for today.
 
You will note that the sentiment :TODAY: is actually a shaker box.  I love incorporating shaker boxes in my wok.  I love the movement and the sound!  This one is filled with gold colored mini glass beads. Here's a tip:  if you have some alcohol ink and some clear mini glass beads, you can color them however you want. Just pour some in a cup, add some drops of alcohol ink and stir (I do with either a popsicle stick or a couple of wooden toothpicks. 

I used two colors of suede paper for my tent.  Suede paper cuts really well using the thin metal dies. I used Frantic Stamper Precision die in Campsite- set of 3 dies .
 
 
I hope you enjoyed today's card.


Lis

Sunday, August 17, 2014

Center Step Cards: Hello


I was looking for a different kind of card to make for my dad (I send him lots of cards) and decided to make this center step card.

I used an Anna Griffin die to make the gold scroll work.  It is actually one piece, just cut into two pieces.


I added a tag and stacked flowers.  I stamped the sentiment onto the tag.

Now to mail it to him!
Lis

Saturday, August 16, 2014

Center Step Cards: Sending Smiles


Hi!  Hope your week is going well.  I just turned in about 9 bags of soda cans at my local recycler. I had to put them in he machine one at a time. But I got about $37 back!  I had been saving them for a long time!  Next time I'll go sooner.

I have another Center Step Card for you today.  I used Basic Grey paper on this one. I find that using a double sided paper makes it easy to coordinate the paper.  Just one sheet!


I'm still using up my stash of French General embellishments.  Boy did I love that line!  My brass charms at the bottom of my card are from them.


I added two tags and stamped on both.  I matted the tags on gold glossy so they'd stand out.  I added two cute little ribbons and a few tiny green gems.


Thanks for stopping by and come back next week for more cards!

Lis

Sunday, August 10, 2014

Center Step Cards: Bonjoir France

Hi everyone!  Lis here with a new type of card that is very popular these days: it's called a center step card. (Actually there is also a side step. I hope to make some of those later.)

  What is cool about these cards is that they have a center that pops out which gives it a 3-D appearance.  I also like the sides.  It allows me to add contrasting papers which really add flair to these cards.

Here is a side view.  You can get a better idea of the construction of the card.  I used a premade/precut card and envelope set to make this card.  (Hot off the Press). I noticed that Sizzix has come out with a steel rule die for this shape as well. there is also a thin die for these that also cuts the pattern in the card stock.
It is also easy to fold and cut your own.

Here is the inside of my card.


Close up !

I found a roll of acrylic clear gems on a roll in the fabric store.  That's where I got the acrylic/black decoration from .


Hope you enjoyed this card. Come back next weekend for another one.

Lis

Saturday, August 9, 2014

Journey


I live in an apartment and am fortunate to have a garage that comes with it.  Out side the door to the garage are Morning Glory plants that are about 6 feet high I think.  I grew up with Morning Glories so this is a pleasant memory. 
When I received my Frantic Stamper Vine Card Panel Die, I was so excited! First of all, I love these panel dies.  They are so versatile.  You can use them as overlays (which I did in this card), by themselves, in pieces on cards, as photo mounts for scrapbook pages.  the uses are endless!
Anyway, back to my story!  The Vine Card Panel die reminded me of those Morning Glories.  So, I made a card that reminds me of the leaves and vines.
 
As you can see, I used the panel as an overlay.  I chose one of those papers that you do't know what to do with that has a pretty design in one corner.  The vine panel is open enough so that you can clearly see the paper design underneath.  I left in a few of the leaf solids (Is that what we call them? LOL) and added some flowers and a touch of pearls.

I hope that you have a chance to get one of these card panels!  They are just so much fun!

 
Thanks for stopping by!
Lis

Sunday, August 3, 2014

Four Panel Card: French Boudoir


Today is my second four panel card.  I think I am getting addicted to these, they are so easy to make!   A you know I love all things French, so this card is full of "Frenchness"! LOL

The dies for the Eiffel Tower and the shield come from Sizzix/Tim Holtz Movers and Shapers dies. I used an embossing folder from Cuttlebug for the embossing on the shield.

I decided to make this card one color on the outside (silver) and pink shimmer in the inside. (I once saw a movie in high school that was from France and I remember all the decoration wallpaper in the apartment.)

Anyway, this is the outside.  I used a Frantic Stamper precision Die (its a half panel die - Shell Half Panel Die).  I cut out the half panels in plain white card stock and sandwiched them between the silver and pink shimmer card stock.  I used Jewel Border Dazzles for both sides of my card.  Silver on the outside...

 
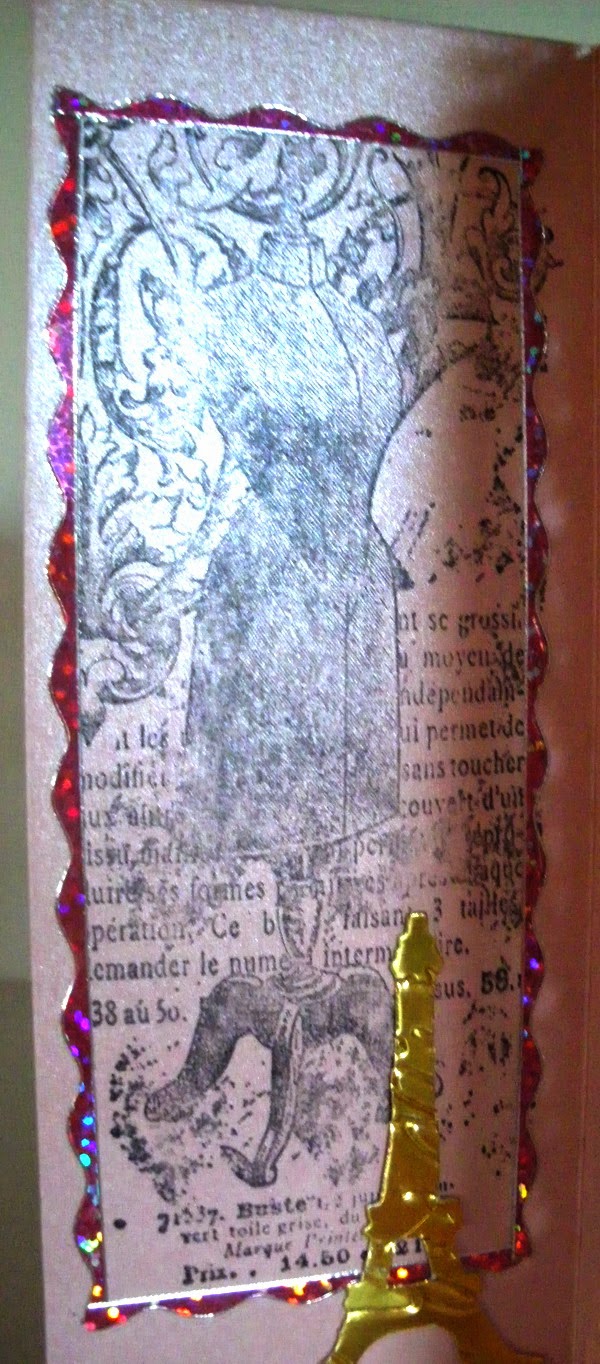
...gold for the inside.  You will note that the first panel is rubber stamped rather than being a die cut panel like the rest.  I got the stamp from Frantic Stamper.  It is a stamp from France (how appropriate!) La Blanche Rubber Stamps.


This is the inside of my four panel card.
 
 
Now for something really CUTE!

Do you see the little charms that I have hanging from the gold punched design?  They are Dazzle CHARMS!  These things are just the cats meow!  They are Dazzle stickers and come on a sheet. You get a pair of each design.  You lace one of the stickers on one side of a piece of plastic and the other on the other side and then you can cut them out.  OR, you can just attach the stickers to each other. Each charm already has a little hole.  They come in gold and silver and I LOVE THEM! (Remember that you can color the silver ones any color you want with alcohol ink pens.)

Pearl Silver Dazzle Charms - Hot Off the Press

Pearl Gold Dazzle Charms - Hot off the Press


I hope you enjoyed my four panel French Boudoir card.  I am sure that I will make more four panel cards so stay tuned!

Lis

Saturday, August 2, 2014

Four Panel Screen Card Asian Theme


Hi and welcome!  I call today's card a four panel screen card.  it's got four panels and reminds me of one of those separator screens that one sometimes uses in a room (or even one of those Victorian ones that the woman stands behind and undresses in the movies).  Anyway, I found a great way to create these cards EASILY from my Stampin Up Demonstrator France Martin.  Thank you Frenchie!

This is the front of my card.  I started with an 8 1/2 x 11 piece of cardstock.  I made a score line horizontally at 2 3/4, 5 1/2 and 8 1/4.  These will be the fold lines.  Since the panels are rectangles, it's easy to measure and then cut the pieces to decorate. 
The bottom is done with a punch!
 
 
This is the inside of my card. I used a Frantic Stamper word die and dazzles to decorate.  The paper I used was Yuzen Washi paper.

I also punched a design at the top of my panel card (Martha Stewart border punch).  It would be easy to use a steel rule die such as one of the Tim Holtz On the Edge dies.  Since its a steel rule die, just fold the entire card up and cut all at once.

 
Have fun!  These cards are truly addicting to make!
 
Lis